Intro
In this guide, we’ll show you how to set up and use a shared wallet (also known as a multi-sig wallet) in Lace. This feature is ideal for scenarios where multiple parties share ownership of a wallet and require group approval for signing transactions. For a deeper dive into shared wallets and their use cases, please refer to our blog post.
As with all features of the Lace wallet, the shared wallet is self-custody. This means that you, as the user, have full ownership and control of your wallet at all times. It is crucial to securely store your recovery phrase, as it is the only way to recover your wallet and access your assets.
The process of creating a shared wallet is simple:
- One co-signer creates the shared wallet using the co-signers’ public keys
- The same co-signer sends a JSON file representing the wallet to the other co-signers
- The remaining co-signers import the wallet using the JSON file
And for sending and approving a transaction:
- One co-signer initiates a standard send transaction and signs it
- After signing, they download the transaction JSON file and send it to the other co-signers
- The remaining co-signers import the transaction JSON and add their signatures
- Once the quorum conditions are met, Lace submits the transaction on-chain
The following guide provides a step-by-step walkthrough of this functionality.
Example Scenario
In this example, we will create a shared wallet owned by two personal wallets acting as co-signers, where all co-signers must approve each transaction. The co-signers are Bob and Alice, who are creating a banking solution together in Austin, TX. We will be using the Preview network, as the shared wallet feature is currently in beta and not available on the mainnet. You can add up to three co-signers in this beta version.
To use the Shared Wallet beta, you’ll need to sign up to the Beta Program in Lace (go to the Settings menu), as this feature is only available in the beta release.
Below are the two wallets already set up in Lace:
Wallet 1 (Bob):

Wallet 2 (Alice, shown in dark mode for differentiation):

How to Create a New Shared Wallet
You can initiate the shared wallet creation process from either wallet. In this example, we start from your first wallet (Bob). Open the account menu from the header dropdown and select Add a shared wallet
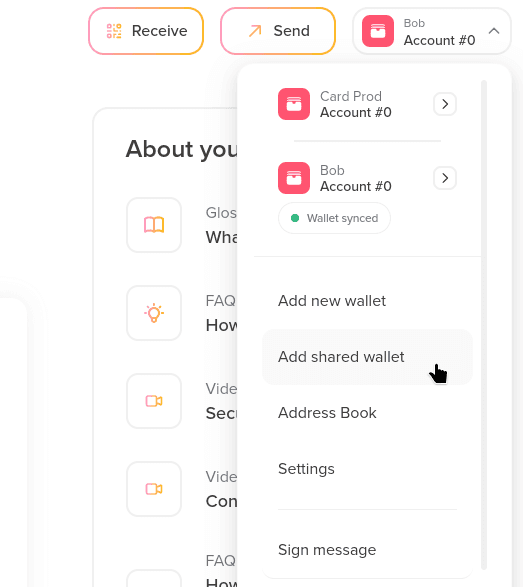
This will take you to the following screen:
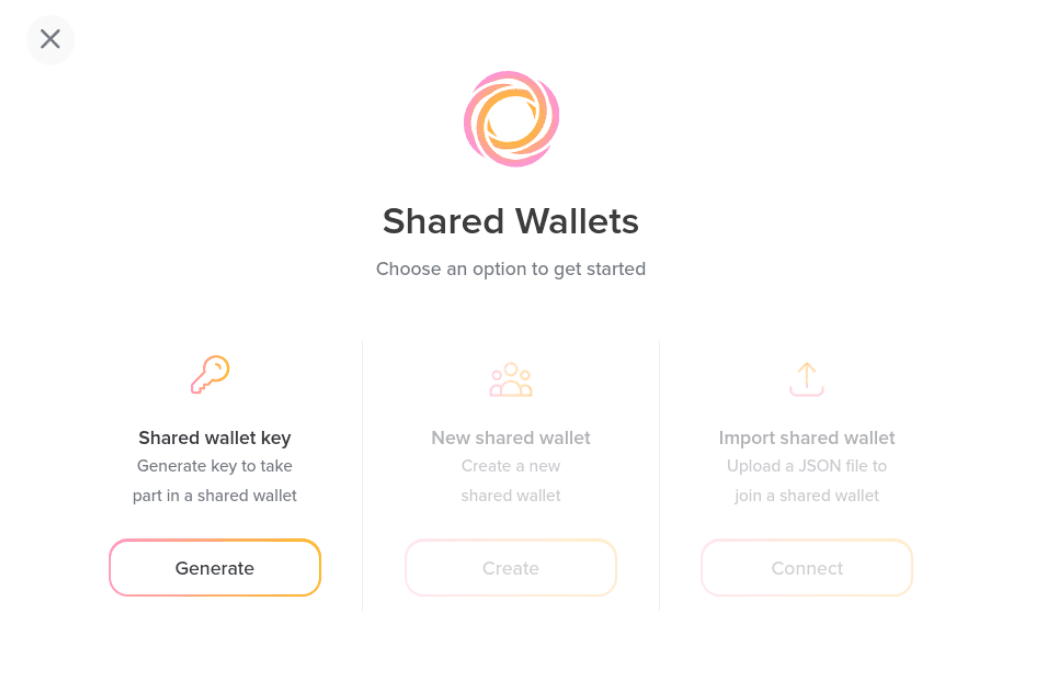
First, we need to create the shared wallet keys, as all co-signers must complete this step before setting up a shared wallet. In this example, we’ll generate these keys in both Bob and Alice’s wallets. This step will require entering your password:
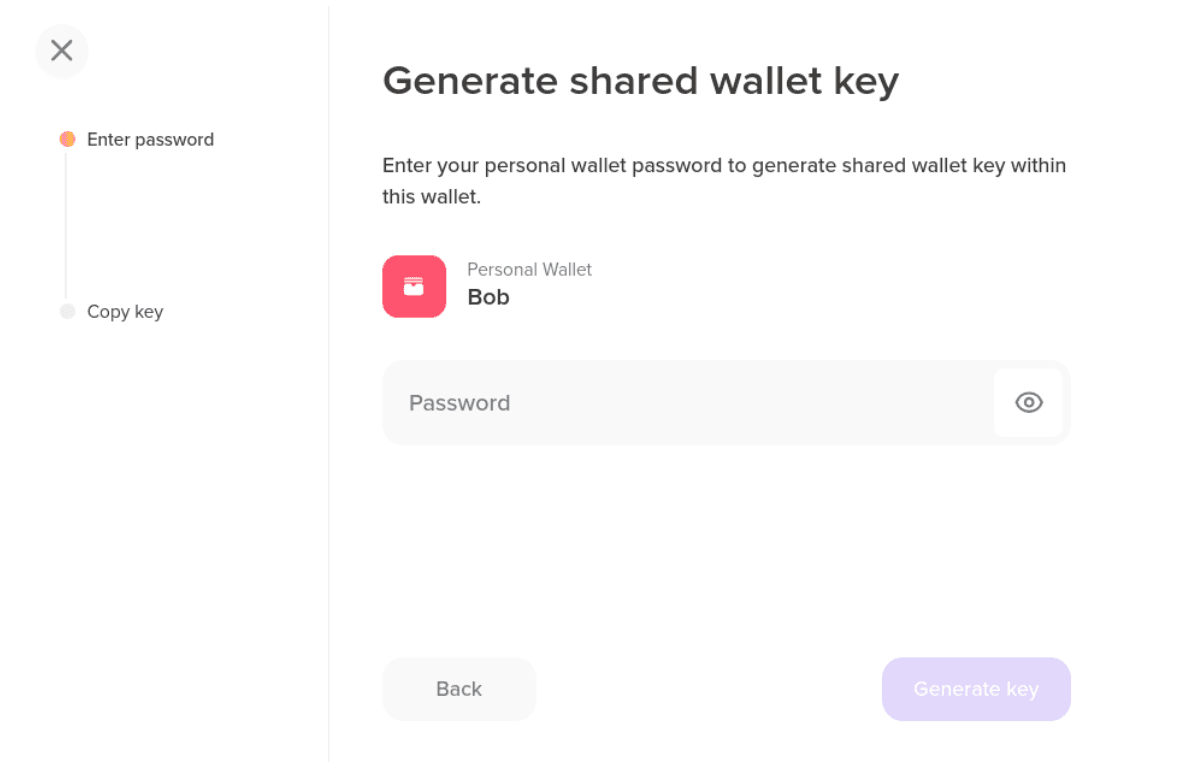
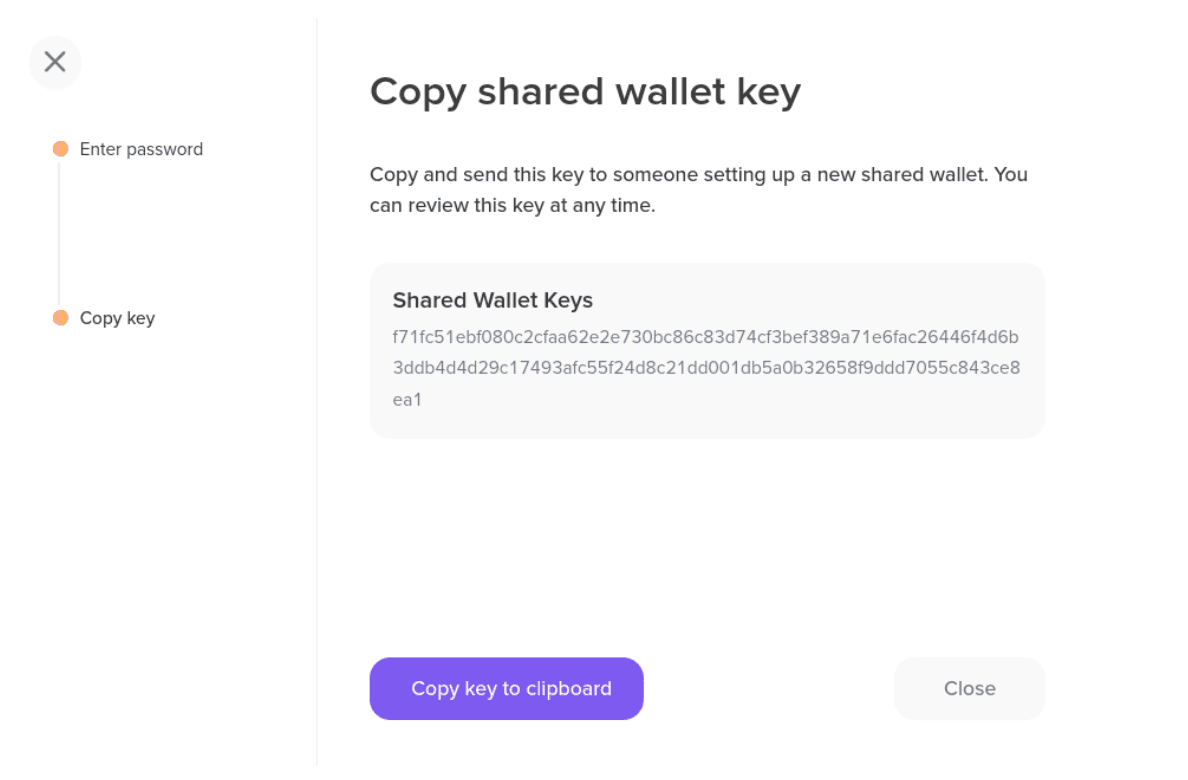
With this new key, you can proceed to create the shared wallet. However, you first need to repeat the process for your second wallet (Alice).
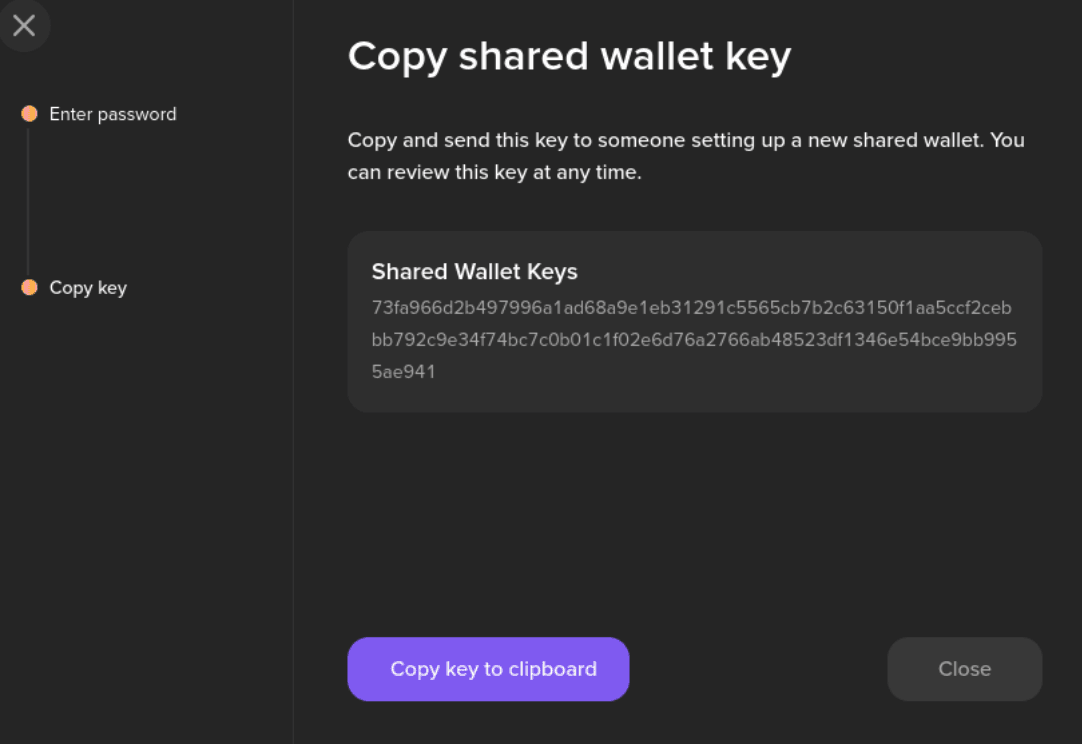
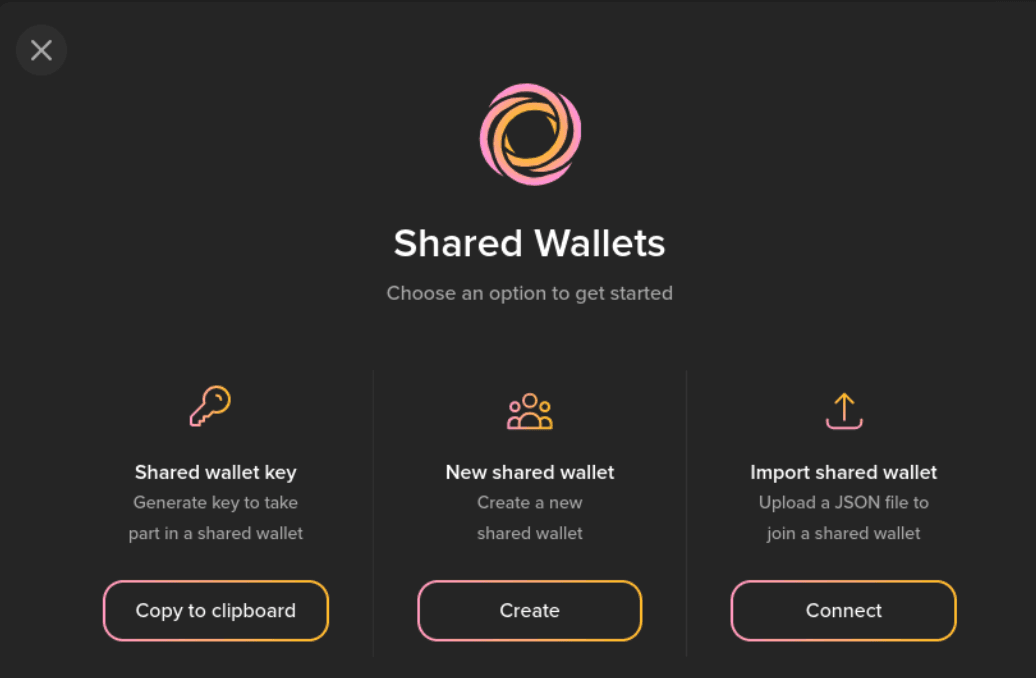
Copy this key so it can be added to your first wallet (Bob). Next, return to the Add shared wallet dialog. You’ll now see that the Create and Connect options are enabled.
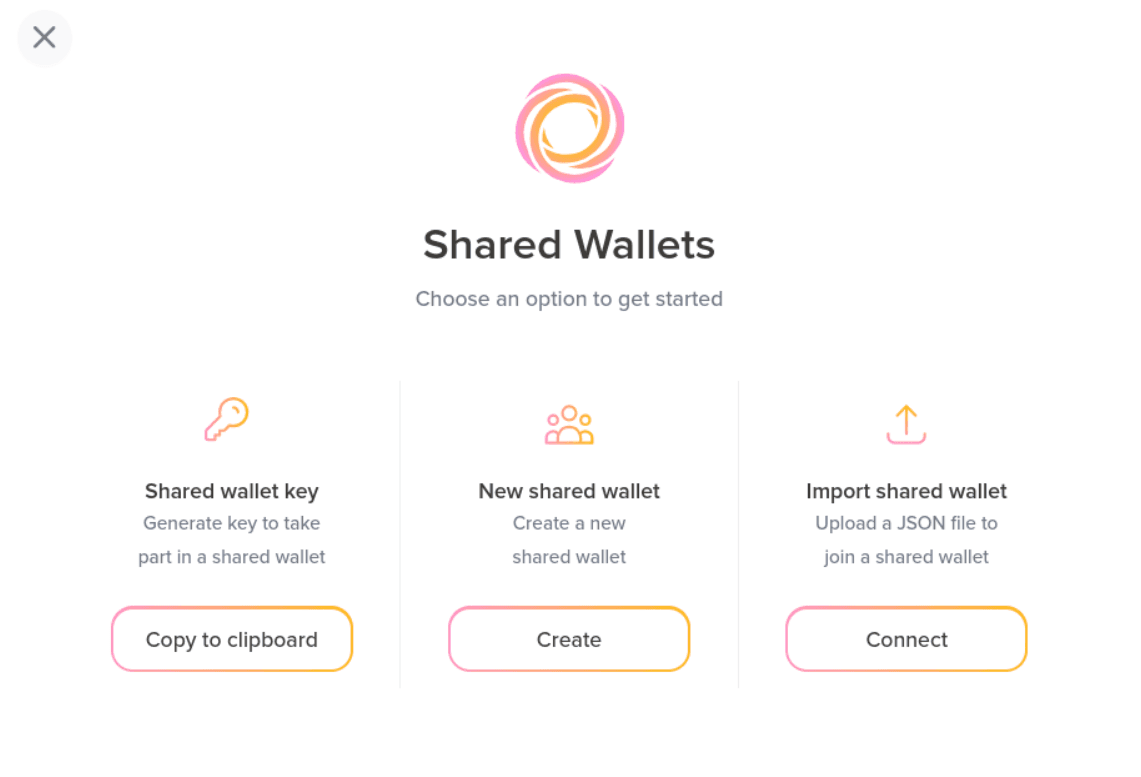
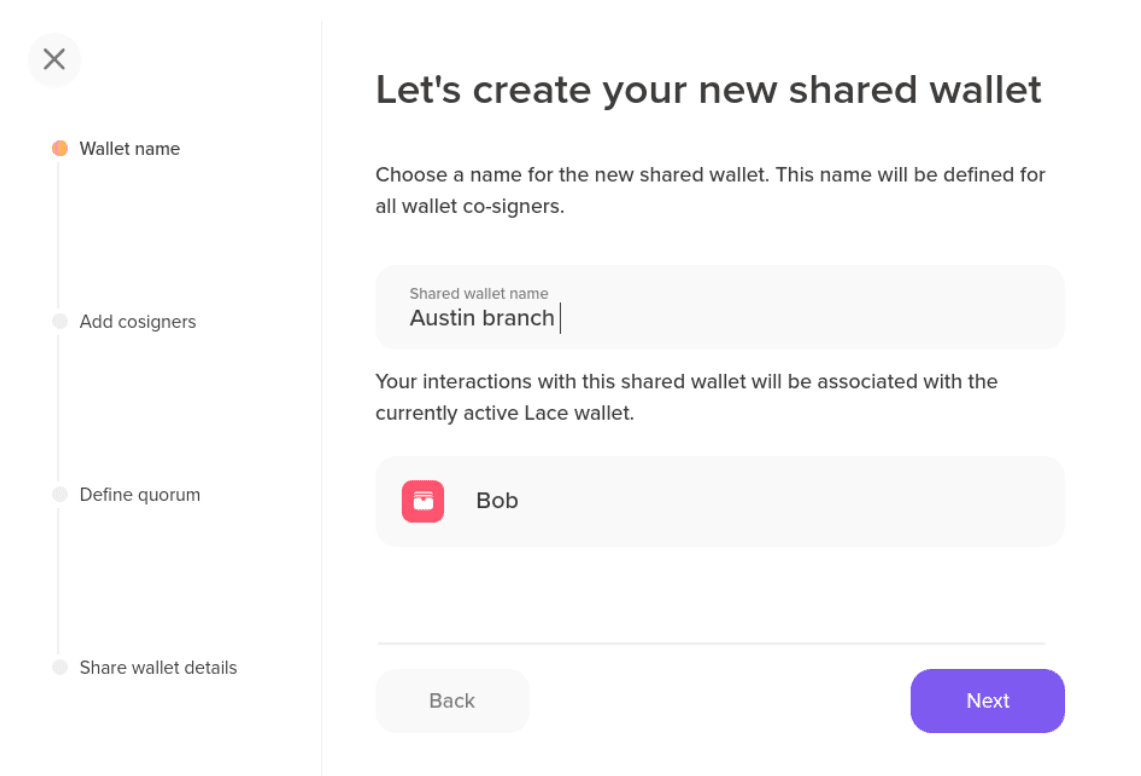
Click on Create and enter a name for the shared wallet:
In the next step, we add the wallet co-signers' keys and identifiers. In our scenario, there is only one additional co-signer (Alice), though you can add up to three. In your first wallet (Bob) key is automatically added, so you just need to paste your second wallet (Alice) key, which was copied earlier. You can also assign names for both co-signers – these names are only Bob’s identifiers and will be stored as part of the wallet’s off-chain metadata. In your second wallet (Alice) you will add the identifiers separately.
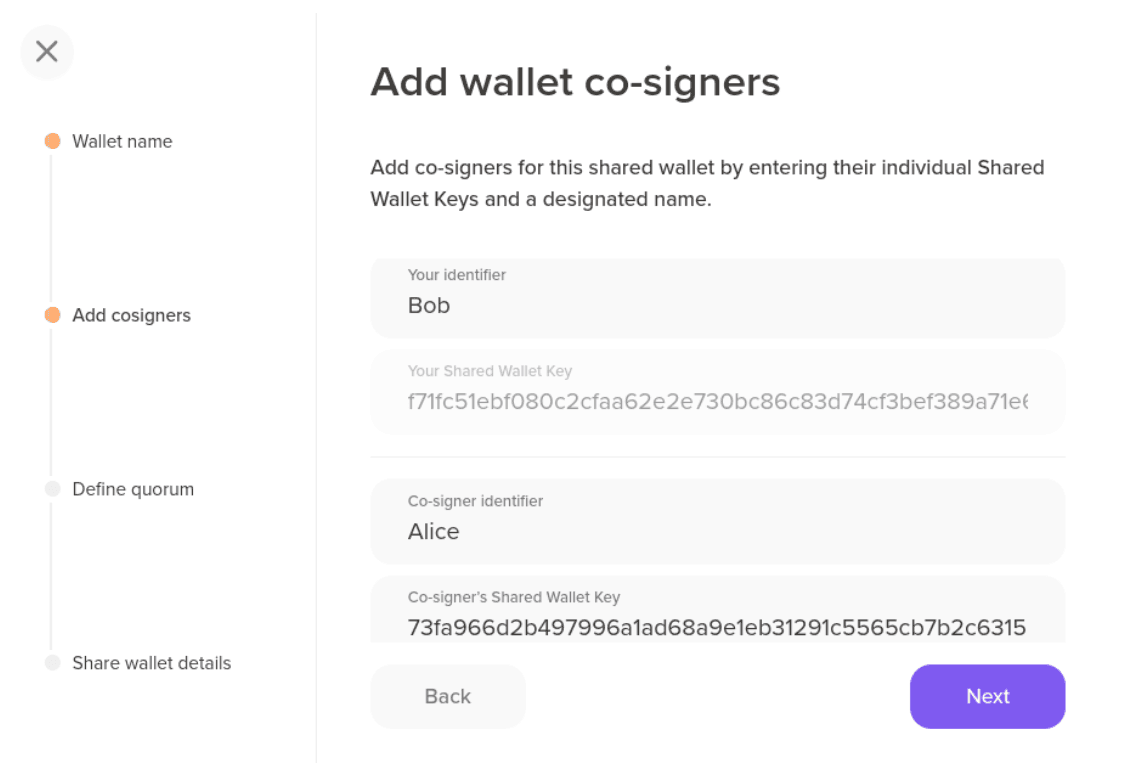
You’ll see an info message indicating that co-signers for the shared wallet cannot be edited:
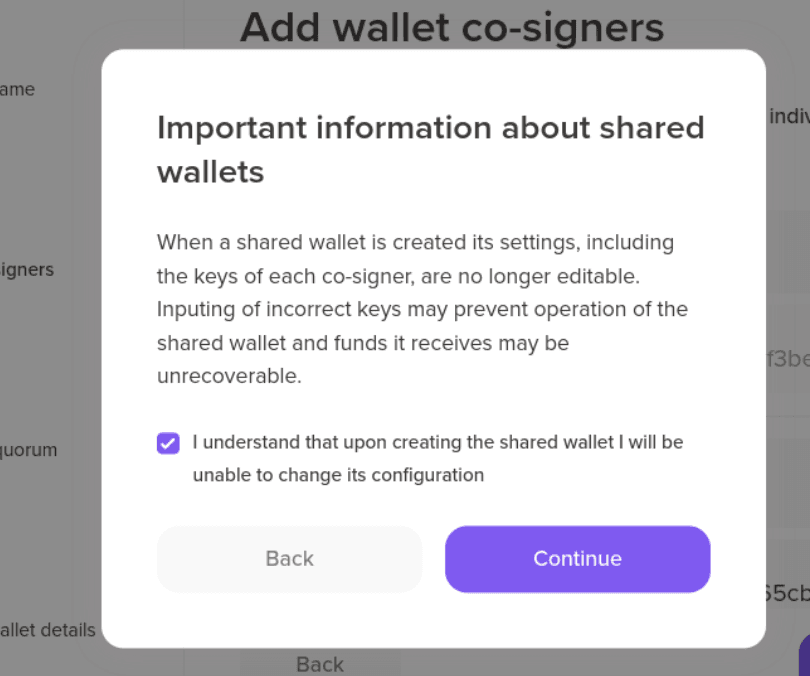
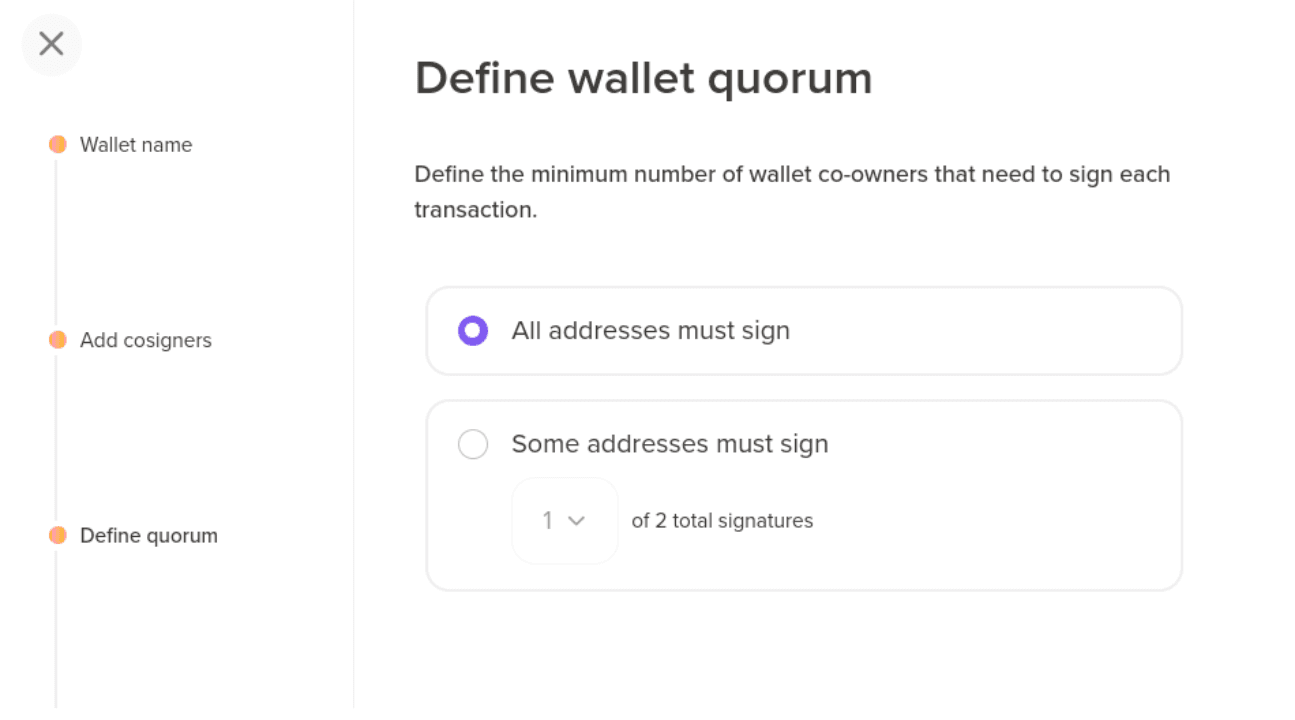
In the next step, you can set the conditions for signing operations. This is useful if you want to establish different thresholds for setting up the quorum. In this example, we’ll keep the default setting: All addresses must sign.
Next, you’ll see a confirmation that the shared wallet has been created, along with an option to download the wallet JSON file, which can be imported by your second wallet (Alice). Download the file and send it using a secure communication method.
In your second wallet (Alice), open the Add shared wallet dialog again and click on Connect.
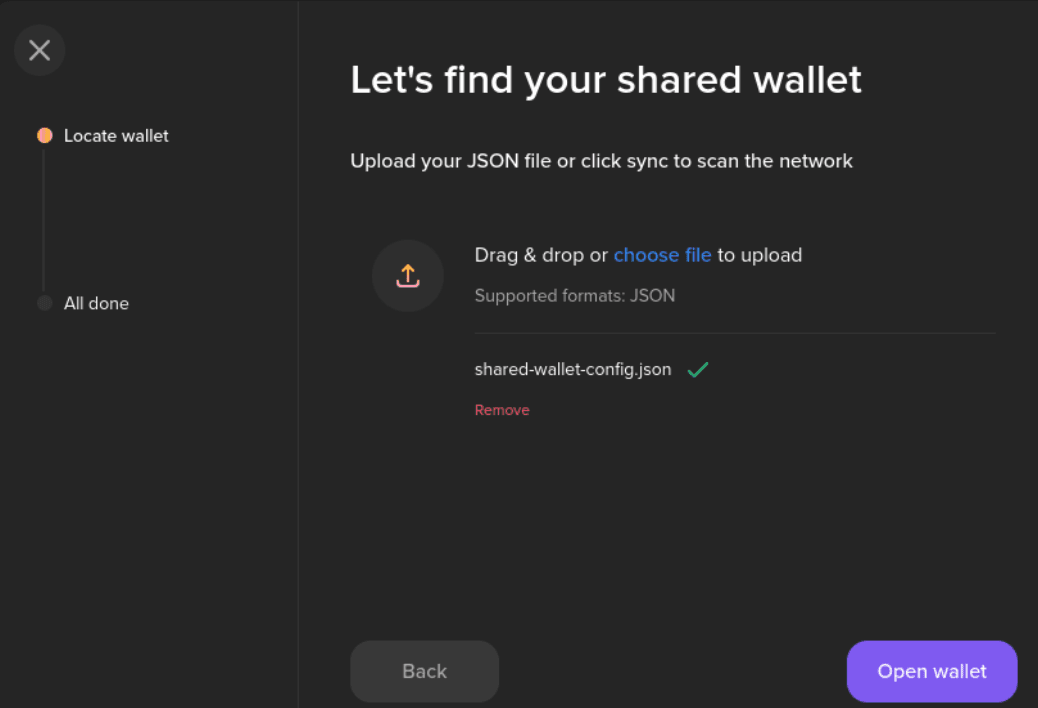
Upload the JSON file generated by your first wallet (Bob):
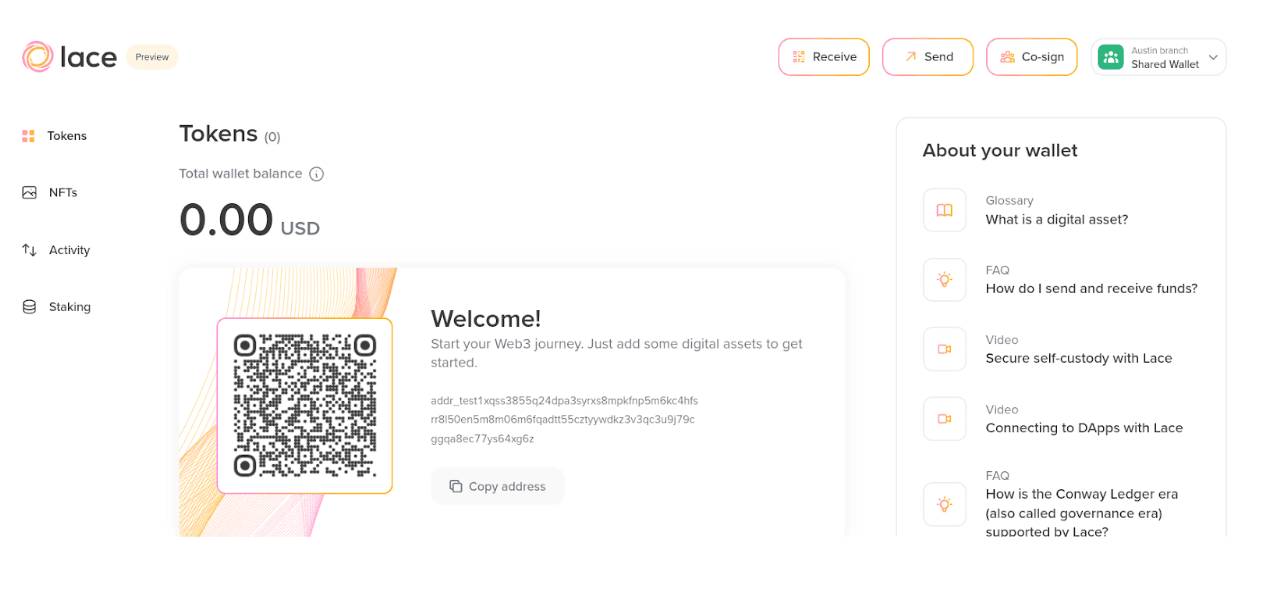
At this point in our scenario, both your first wallet (Bob) and second wallet (Alice) have the shared wallet set up. You can see the shared wallet displayed with a green icon in the header account field, along with the name you assigned.
How to Send Assets from a Shared Wallet
Before sending assets, let’s fund the shared wallet using the Cardano Testnets faucet (https://docs.cardano.org/cardano-testnets/tools/faucet/)
Now, your first (Bob) and second wallet (Alice) jointly control the shared wallet called Austin Branch. Alice wants to send 100 tADA from the shared wallet to another party, Charlie, as a payment he is owed. You can initiate the transaction from the Austin Branch shared wallet in your second wallet (Alice) by clicking on Send and entering Charlie’s address.
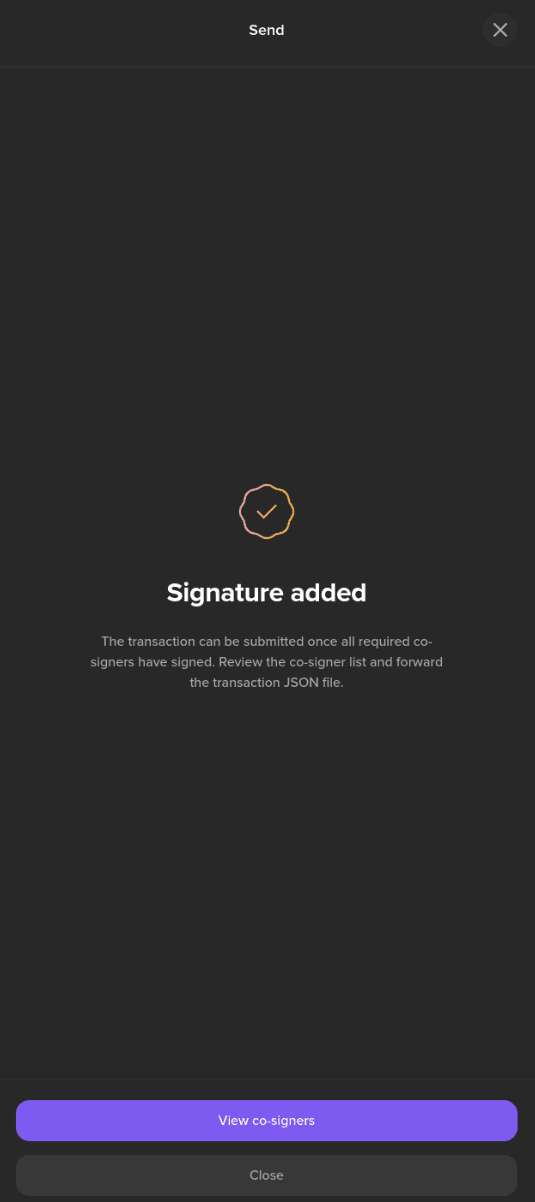
In the Transaction summary step, before confirming, you can see at the bottom that two signatures are required: one from your first wallet (Bob) and one from your second wallet (Alice). Proceed with the signature in your second wallet (Alice), and a transaction JSON file will be generated for download.
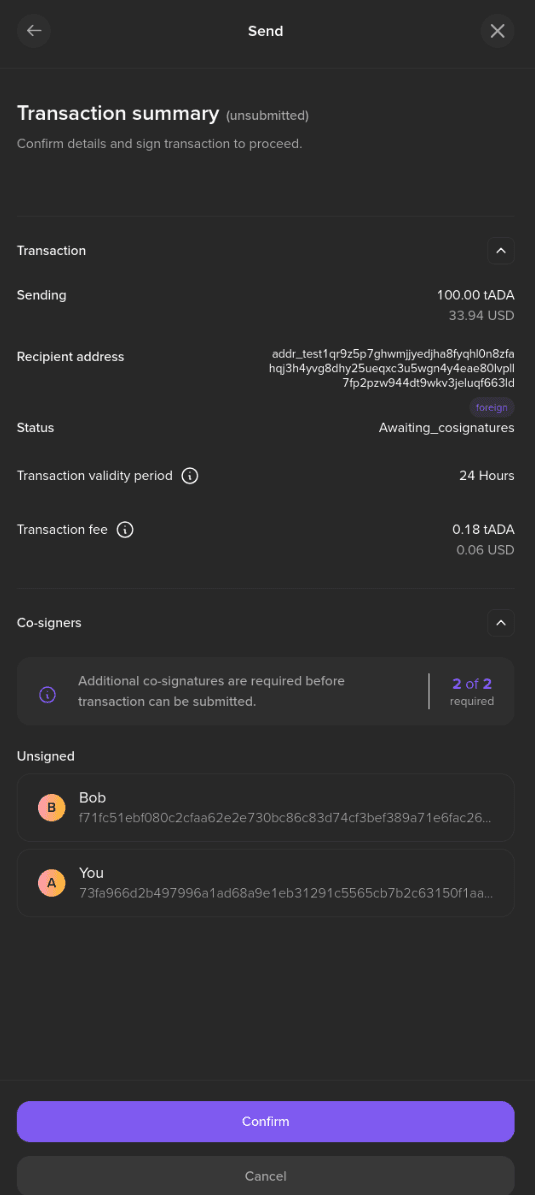
The transaction status is set to Awaiting co-signatures:

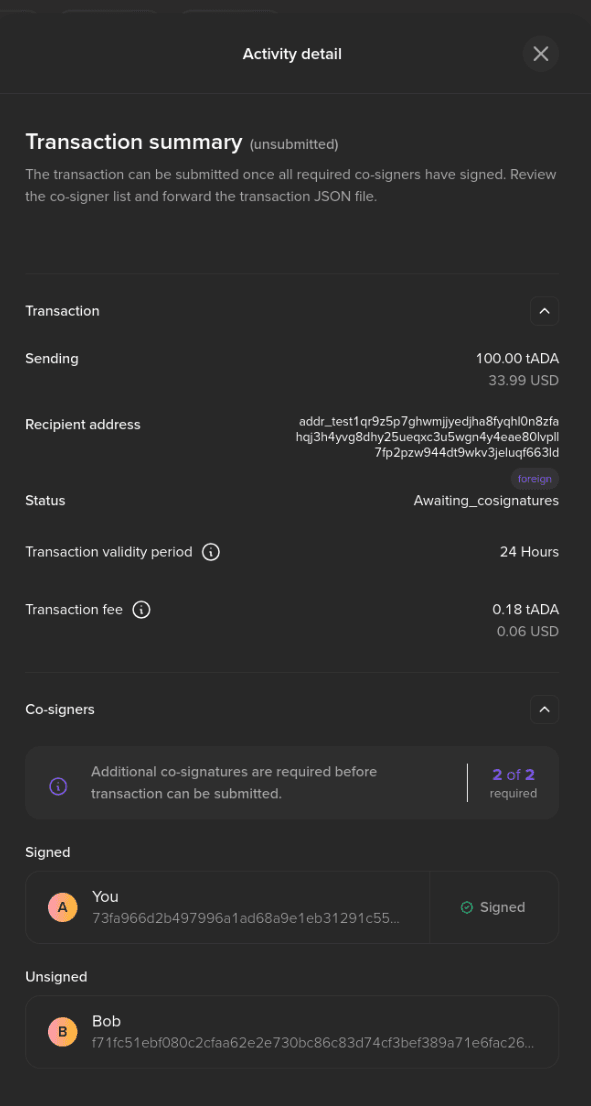
In the transaction details, Bob’s signature is still pending:
Now you can import the transaction JSON file in your first wallet (Bob), for that click on Co-sign in the top header.
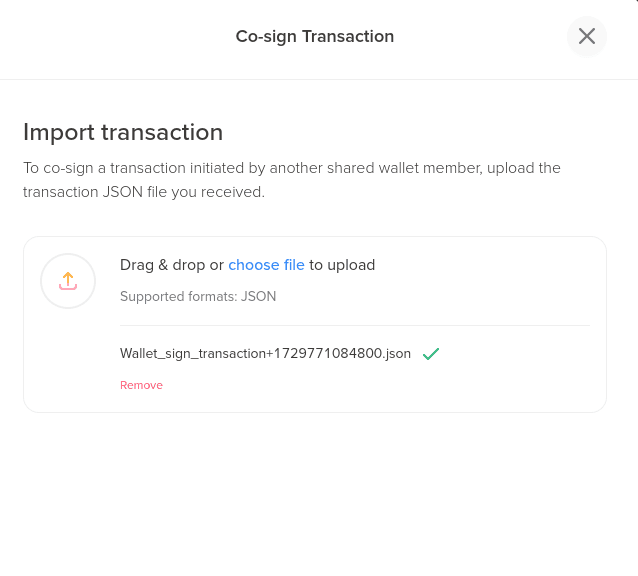
After signing with your first wallet (Bob), the quorum conditions are met, and Lace submits the transaction with all required witnesses on-chain, sending the 100 tADA to Charlie.
More information
For additional details, please check out our FAQ and blog post. If you have any questions, you can also join our Discord community.

